

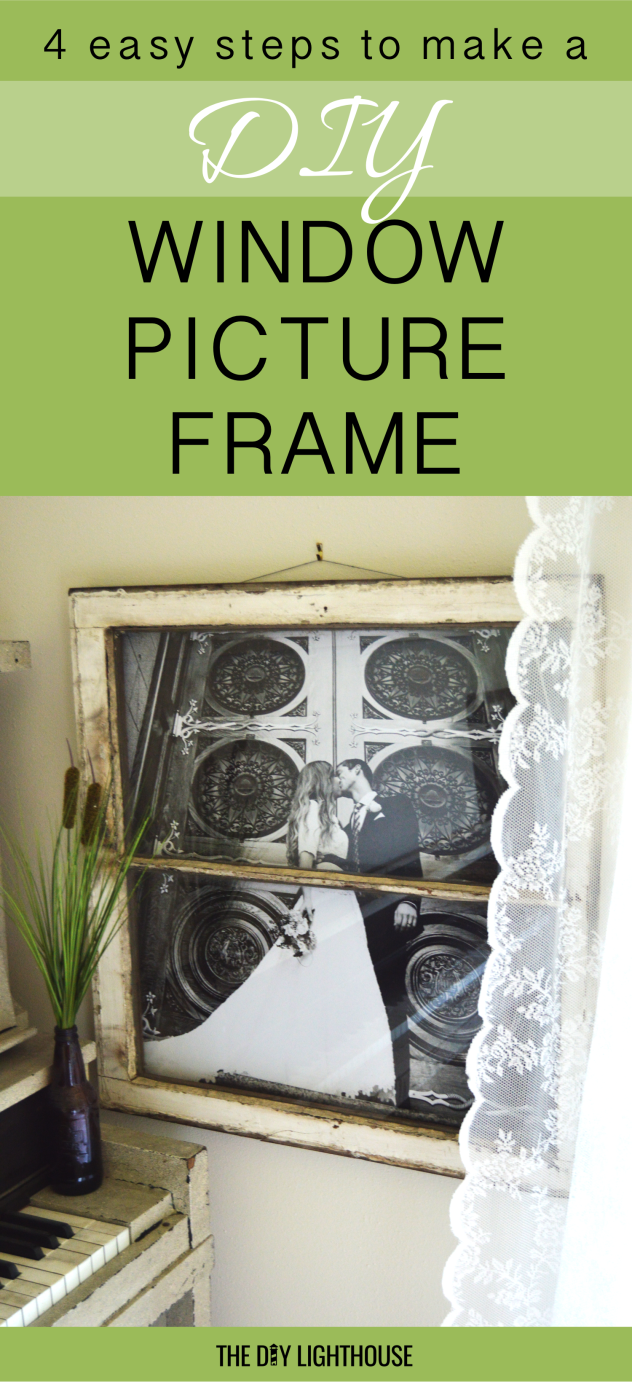
How To Make Antique Window Frames
If you're looking for a fun, like shooting fish in a barrel DIY habitation decor project then this could be for you! I volition walk you through four like shooting fish in a barrel steps for how to make your own DIY window picture frame.
Let's be honest… I'thou in love with the shabby chic, antiquarian wait. If you are too, then make an antiquarian, distressed looking window movie frame similar I did. If that'south not your style, so just notice a window sash that matches the feel you desire. Either manner, making this DIY home decor project is easier than it looks!
4 Steps for Turning a Window into a Motion picture Frame
Pace 1: Gather Your Supplies
You will demand the post-obit…
- A wooden window sash (this is the technical term for the office of the window you want)
- If your window sash is antiquarian and has lead paint on it like mine did, you volition also need: a rag, plastic, painters tape, and articulate sealant spray
- D-Band hanger set (includes screws, hanging wire, and a picture show hanger with smash)
- A impress of the photo yous want to use (big enough the fill the window frame)
- Record or staples (to secure your printed photo to the wooden frame)
I searched craigslist for a gratis window sash, only finally concluded upwards looking through the window sashes at Second Employ, a secondhand antique store almost Seattle. I wanted one that was inexpensive, white, light weight, and had more than than ane window pane. I decided on a $ten 22×22 window sash with 2 panes that had white paint on one side and was unpainted on the back (equally y'all can see in the picture below).
If y'all are wondering, here is where I got the rest of my supplies: The D-Ring hanger ready I found for pretty cheap at Home Depot, I got the sealant spray from Walmart, and I printed my photograph at Costco. Everything else I already had on hand.
Stride 2: Clean Your Window Sash

Be sure to wipe down your window sash–this includes wiping any dirt from the wooden frame as well as cleaning the glass (both sides!) with some glass cleaner.
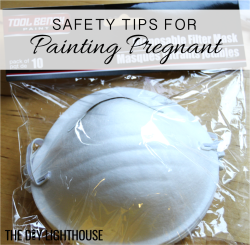
If your window sash has atomic number 82 paint on it, like mine did, you volition need to seal in the paint. Lead paint is toxic and can exist harmful (especially to children) if inhaled or ingested fifty-fifty in depression levels. To seal the paint, bring your window sash outside, wipe it down to clean it, cover the window panes by taping plastic or paper over the glass, so sprayed the whole thing downwards with a clear sealant. Tip: To be safety, you lot can wear a painting filter mask while doing this.
(Pregnant? Check out this post on safety tips.)
Step iii: Secure Your Photo
Once your window sash is clean and ready to become, information technology's time to add your photograph. Depending on the size and shape of your window sash, you may demand to cutting away backlog photo paper that sticks out from behind the window. At Costco, I had printed a large 24×36 affiche sized print of one of my favorite pictures from our wedding. My window sash was but 22×22, so I had to cut the photograph downward. I did this past gently laying my window sash on tiptop of my photograph and adjusting its placement until I had photo in the perfect spot. I and then cut off all of the backlog photo paper so there wouldn't be any sticking out from behind my window sash.
Secure your photo to the back of the window by using staples, record, tacks, pocket-size nails (be certain they are brusque plenty that they won't poke through the other end), or whatever method is easiest for you. I had some black electrical tape on paw and so I used that to concord the photo in place and then pushed a couple tacks in for good measure.
Step 4: Add Hanging Wire
To turn your window into a picture show frame, grab your D-Ring hanger gear up (which should have included 2 D-rings, 2 screws, hanging wire, and the picture hanger with a nail) and secure to the dorsum of your window by post-obit the directions on its packaging.
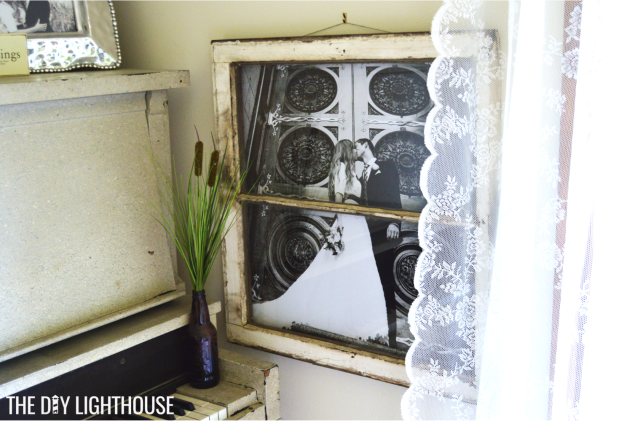
I love my DIY antiquarian window picture show frame! The black and white photo works great with the lite and dark contrasts we have throughout our living room, and the old, distressed window sash adds an antique experience.
Hope you have fun making your own DIY window flick frame. This has certainly been one of my favorite DIY projects so far! Let me know how your project goes in the comment section beneath.

![]()
![]()
Source: https://thediylighthouse.com/how-to-make-a-diy-window-picture-frame/
Posted by: valdezeaut1966.blogspot.com
0 Response to "How To Make Antique Window Frames"
Post a Comment